Trezor.io/start: Complete Guide to Setting Up Your Trezor Wallet
Trezor.io/start is the official platform for setting up your Trezor hardware wallet — a reliable, secure, and user-friendly solution for safeguarding your cryptocurrency assets. Whether you are new to cryptocurrency or an experienced user, this guide will walk you through each step of setting up your Trezor device via the official Trezor.io/start website. We’ll explore the essential aspects of Trezor's setup process and how you can get the most out of your hardware wallet to ensure maximum security for your digital assets.
What is Trezor?
Trezor is a leading hardware wallet that allows users to store their cryptocurrencies offline, away from the reach of hackers and malware. Developed by SatoshiLabs, the Trezor wallet was the first hardware wallet of its kind, designed to protect users from online threats while giving them complete control over their private keys.
With support for thousands of cryptocurrencies and an easy-to-use interface, Trezor is one of the most trusted and secure solutions for managing digital assets. It also offers backup and recovery features that ensure you can restore access to your wallet if the device is lost or damaged.
Key Features of Trezor Wallets:
Top-Tier Security: Protects your private keys offline, away from malware and phishing attacks.
Wide Cryptocurrency Support: Supports over 1,000 cryptocurrencies, including Bitcoin (BTC), Ethereum (ETH), Litecoin (LTC), and many others.
Backup & Recovery: Offers a secure 24-word recovery seed to back up your wallet.
User-Friendly Interface: Simple setup process and intuitive user interface make it suitable for beginners and experienced users alike.
Why Trezor.io/start is Essential for Your Wallet Setup
Trezor.io/start is the official website where you can begin the setup process for your Trezor hardware wallet. By visiting the site, you are guaranteed access to the latest security features, instructions, and official software required to activate and configure your device properly.
Using Trezor.io/start is crucial for setting up your device securely. This platform ensures that you are interacting with the authentic setup process, minimizing the risk of fraud or compromised devices. Let’s dive into the step-by-step process to guide you through the setup.
Step-by-Step Guide to Setting Up Trezor via Trezor.io/start
Here’s how to set up your Trezor device using the official Trezor.io/start website.
Step 1: Unbox Your Trezor Device
Start by carefully unboxing your Trezor wallet. Verify that the packaging is sealed and intact, as tampering with packaging can signal that the device may have been compromised. Trezor wallets come with tamper-proof seals to ensure authenticity.
Step 2: Visit Trezor.io/start
To begin the wallet setup process, open your browser and navigate to Trezor.io/start. This is the official setup page where you will initiate the process of setting up your wallet. Always ensure that the website is secure (you should see “https://” in the URL).
Step 3: Connect Your Trezor Device to Your Computer
Use the provided USB cable to connect your Trezor wallet to your computer. Depending on the model you’re using (Trezor One or Trezor Model T), the device may prompt you to use its touchscreen interface for further navigation.
Step 4: Install Trezor Suite or Trezor Bridge
The Trezor setup requires the installation of either Trezor Suite or Trezor Bridge:
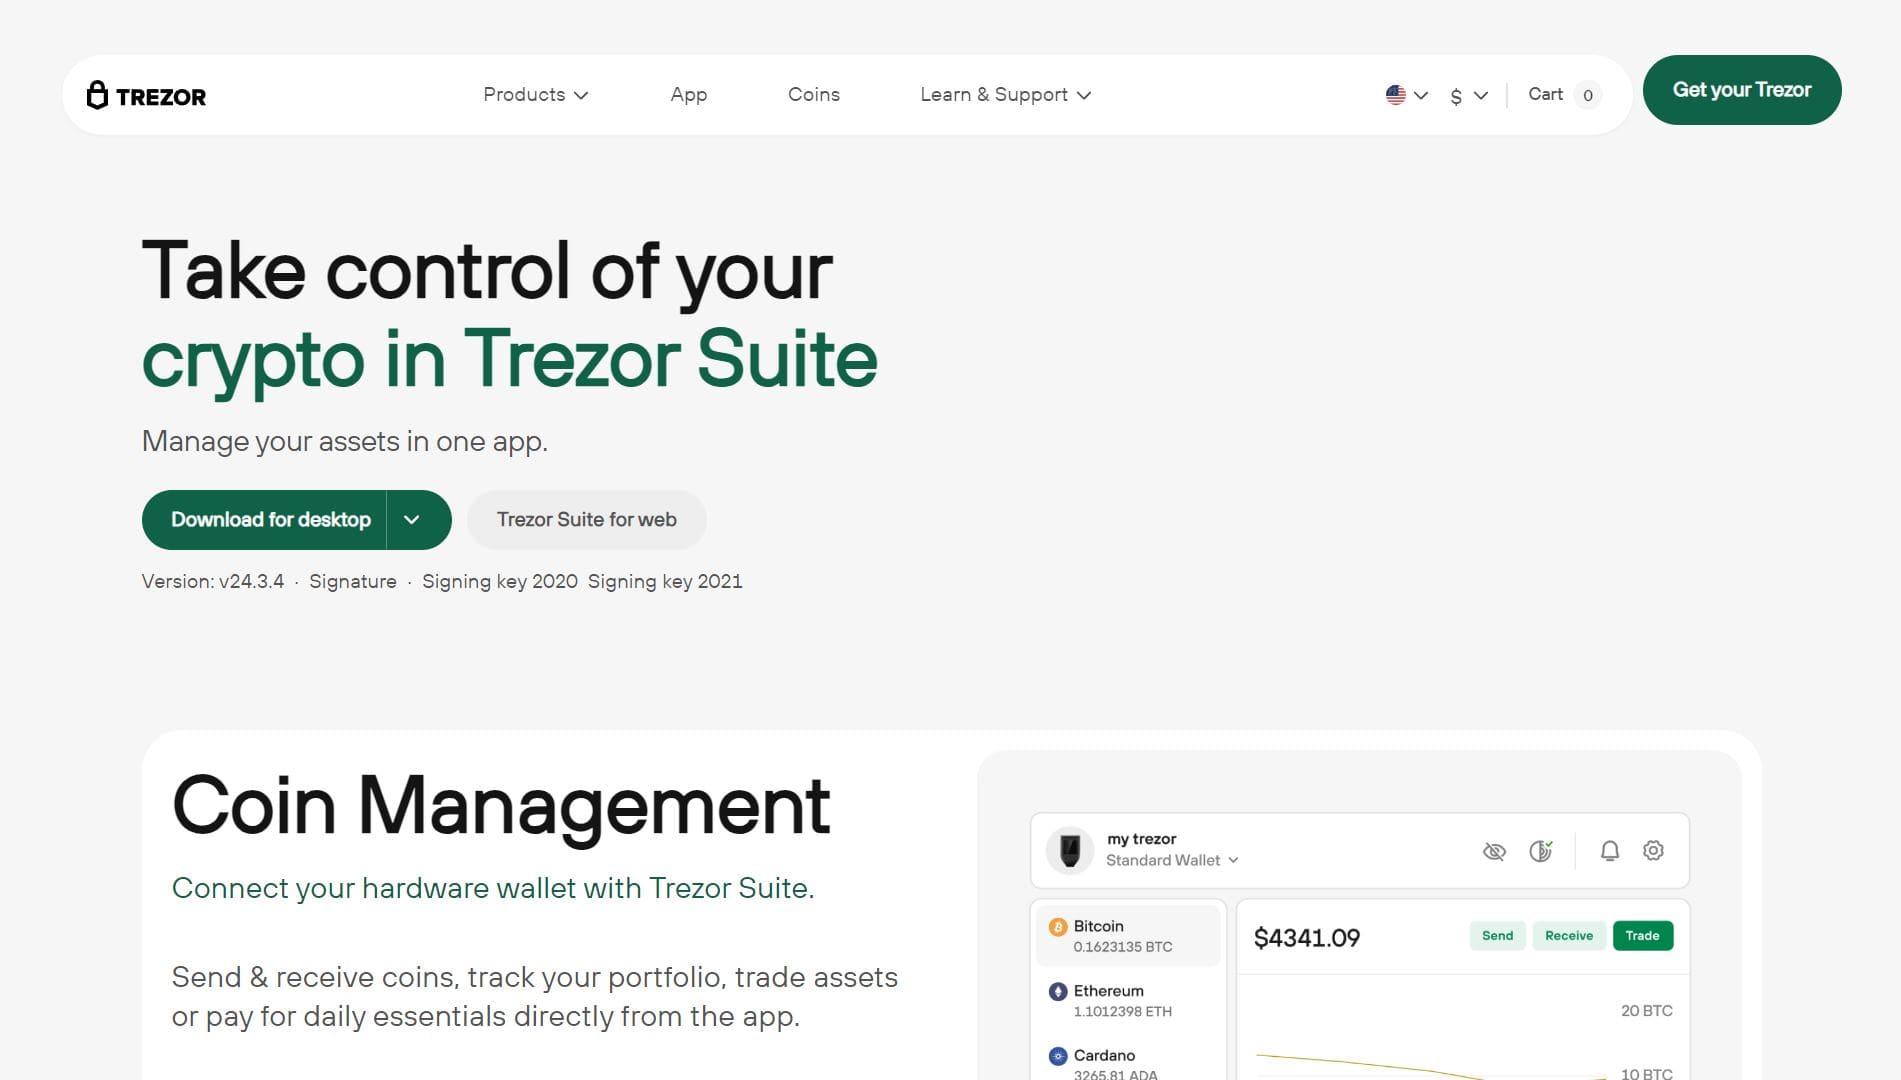
Trezor Suite: A comprehensive desktop application that lets you manage your cryptocurrencies, view transactions, and securely store private keys.
Trezor Bridge: A lightweight solution to connect your Trezor wallet with your browser, enabling the necessary communication between your computer and the device.
Download and install the appropriate software according to the instructions on Trezor.io/start. Both options are secure, but Trezor Suite provides more features for managing your crypto portfolio.
Step 5: Set Up a New Wallet or Recover an Existing One
Once the software is installed, you’ll be asked whether you’re setting up a new wallet or recovering an old one. If this is your first Trezor device, choose the option to create a new wallet.
Step 6: Generate and Store Your Recovery Seed
One of the most critical aspects of Trezor's security features is the recovery seed — a 24-word phrase that acts as a backup for your wallet. Write this seed down and store it in a secure, offline location. Do not store it digitally, as it could be hacked if kept online.
Step 7: Create a Secure PIN Code
Next, you’ll be asked to create a PIN code for your Trezor wallet. This PIN provides an additional layer of protection, ensuring that even if your device is lost or stolen, your assets remain secure. Choose a PIN that is not easy to guess.
Step 8: Confirm Your Recovery Seed
For additional security, Trezor will prompt you to confirm your recovery seed. This ensures that you’ve correctly written down and stored your recovery phrase. Keep this phrase safe and ensure it’s not accessible to others.
Step 9: Finalizing the Setup
Once the setup is complete, you’ll be able to view your wallet dashboard. You can now start receiving and sending cryptocurrencies, monitor transactions, and manage your portfolio securely.
Troubleshooting and Support via Trezor.io/support
If you encounter any issues during the setup, Trezor.io/support is the go-to resource for troubleshooting. The support portal provides FAQs, troubleshooting guides, and step-by-step instructions for common problems.
Common Issues:
Device Not Detected: Ensure your USB cable is properly connected. Try using a different USB port or cable if the device is not recognized.
Lost PIN or Recovery Seed: If you forget your PIN, you may need to reset the device. Ensure you have your recovery seed saved for restoration.
Software Installation Problems: If you have trouble installing Trezor Suite or Trezor Bridge, check that your operating system is supported and that you are using the latest version.
For more personalized help, Trezor’s support team can be reached via live chat or email.
Why Trezor.io/start is the Safest Way to Set Up Your Wallet
When it comes to cryptocurrency security, your private keys are your most valuable asset. Setting up your Trezor hardware wallet through Trezor.io/start ensures that the process is both secure and reliable. By following the steps on the official site, you can be confident that your device is properly configured and free from any potential security threats.
Additionally, using Trezor.io/start ensures that you have access to the latest security features, software updates, and guides directly from Trezor’s team of experts.
Conclusion
Setting up your Trezor hardware wallet via Trezor.io/start is the best way to ensure that your cryptocurrencies are stored safely and securely. The step-by-step process is designed to make the wallet setup easy, even for beginners, while the advanced security features protect your assets from online threats. Whether you are using Trezor One or Trezor Model T, following the instructions on Trezor.io/start will give you peace of mind knowing that your digital assets are in safe hands.
For any issues or questions during the setup process, the Trezor support portal, Trezor.io/support, offers comprehensive resources and direct customer assistance to help you with troubleshooting.